Introduction
When running Kubernetes either in the cloud or on-premises you often will need two important components: a storage provider and a load balancer.
Cloud providers will give you both (for a fee, obviously). But what if you don’t want the additional expense or if you’re running on-premises or in bare-metal?
Storage
The storage part is simple and you have plenty of options at your disposal. You can use any of the distributed storage applications. I have installed and used successfully Longhorn and Rook and you also have OpenEBS and others at your disposition.
What about a Load Balancer?
If you are on-premises you may be able to use MetalLB or any other alternative. But what if I tell you you don’t need one?
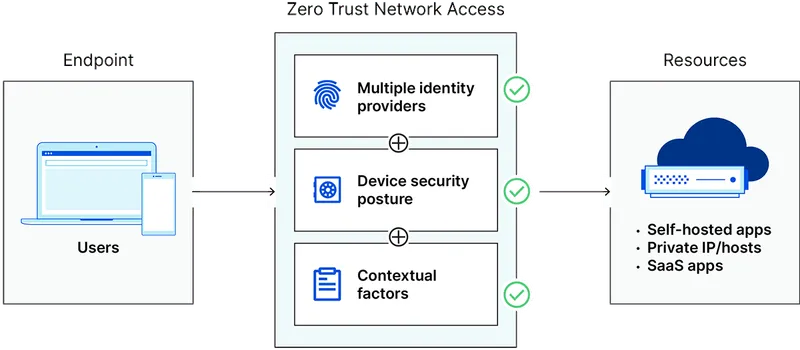
I’m a fan of Cloudflare. It’s a very innovative company that offers great products. One of them it’s Cloudflare Zero-Trust.
You can achieve this by simply running the cloudflared service in your Kubernetes cluster. It creates a proxy between your infrastructure and Cloudflare that allows you to expose to the internet a domain of your choice. Crucially the connection is not initiated by Cloudflare or the end user but by the cloudflared daemon running in Kubernetes.
It means you do not require a public IP or a Load Balancer! As a bonus, Cloudflare offers multiple security options. You can for example apply authentication to the connections via OpenID.
How do you implement this magic?
The only pre-condition is the domain or subdomain you’re going to use must be hosted by Cloudflare. Then, the configuration requires two parts:
- A Cloudflare tunnel you must create either using their web portal or as code using for example terraform
- A cloudflared daemon running on your Kube cluster. I favour using this helm chart for that.
What about the ingress?
Usually, the first thing I install to my K8s clusters is the Ingress controller, either Nginx or Traefik which in turn sets up the Load Balancer. As we don’t need a Load Balancer when using Cloudflare, you can leave it out.
The Cloudflare tunnel configuration offers ample options for routing configuration and it’s more than enough for the majority of cases. However, on occasions, you may require more advanced configurations that only a good Ingress can provide.
In these cases, you’ll need to install it but crucially you don’t need it to spin up a Load Balancer. This is the default configuration on both Nginx and Traefik. Do remember to change the service configuration to eitherClusterIP or NodePort depending on your needs.
When setting up the Cloudflare tunnel, point it to the Ingress service (see example below).
Code Example
The below code is untested. It’s literally a copy and paste from my personal notes and the terraform website to put you on the right path.
Let’s assume you have a website called www.example.com you’d like to expose to the internet. This website is served internally by a Kube app running as http://my-kube-app.default.svc.cluster.local:8080
# The first step is to create a tunnel
resource "cloudflare_tunnel" "example_tunnel" {
  account_id = "f037e56e89293a057740de681ac9abbe"
  name       = "example_tunnel"
  secret     = "<32 character secret>"
}

# Then, you can set up the tunnel configuration and point it
# to the Kube application that will be serving the content
resource "cloudflare_tunnel_config" "example_config" {
  account_id = "f037e56e89293a057740de681ac9abbe"
  tunnel_id  = cloudflare_tunnel.example_tunnel.id
  config {
    ingress_rule {
      hostname = "www.example.com"
      # either application or ingress service
      service  = "http://my-kube-app.default.svc.cluster.local:8080"
      origin_request {
        http_host_header = "www.example.com"
        no_tls_verify    = true
      }
    }

    ingress_rule {
      service = "http_status:404"
    }
  }
}

# The next step is to create the Cloudflare application for its own domain
resource "cloudflare_access_application" "my_app" {
  zone_id                   = "0da42c8d2132a9ddaf714f9e7c920711"
  name                      = "web application"
  domain                    = "www.example.com"
  type                      = "self_hosted"
  session_duration          = "24h"
  auto_redirect_to_identity = false
}

# And to add the DNS record, a CNAME pointing to the cloudflare tunnel
resource "cloudflare_record" "default" {
  zone_id         = "0da42c8d2132a9ddaf714f9e7c920711"
  name            = "www.example.com"
  value           = cloudflare_tunnel.example_tunnel.cname
  type            = "CNAME"
  proxied         = true
  allow_overwrite = true
}

# Finally, start up `cloudflared` to establish the tunnel
resource "helm_release" "cloudflare-tunnel" {
  name       = "cloudflare-tunnel-remote"
  repository = "https://cloudflare.github.io/helm-charts"
  chart      = "cloudflare-tunnel-remote"
  version    = "0.1.1"

  create_namespace = true
  namespace        = "cloudflared"
  wait             = true
  wait_for_jobs    = true

  set {
    name  = "cloudflare.tunnel_token"
    value = cloudflare_tunnel.example_tunnel.tunnel_token
  }
}
Last words
If you’ve read my previous blogs, you may recall my frequent mention of the high cost associated with cloud services. At Digitalis, we frequently encounter clients looking to lower their cloud expenses.
The absence of load balancers during on-premises or bare-metal deployments has often been cited as the primary reason for sticking with and continuing to bear the costs of cloud services. However, as you can observe, there are alternative solutions available.
I, for One, Welcome Our Robot Overlords